This is the third tutorial in our series on using Storj DCS in the web development environment. To recap, we previously covered the topic of creating and hosting a static website on the Storj network and how Storj can be used for decentralized video hosting. Today we’re going to look at a practical and common use case for Storj: automatic WordPress backups and restoration.
Background
One of the most attractive features of Storj DCS is that it’s not only a decentralized cloud storage provider, but it is also private, secure/encrypted, free (up to 50GB/project) and S3 compatible. This means that your WordPress backups can be encrypted and privately stored and not shared with the rest of the world (unless you specifically grant access). What’s more, since the files are encrypted that means even Storj themselves cannot see the data you are storing on the network. This is crucially important for websites that contain private customer data or sensitive business information.
A bit of background for those who have not heard of Storj DCS before, DCS stands for “Decentralized Cloud Storage” and it functions similarly to Amazon Web Services S3 storage. The main difference is that unlike the centralized data centers used by AWS, Storj uses a decentralized network of tens of thousands of privately-operated nodes. When your files are uploaded to Storj they are first encrypted, then split into tiny fragments and then distributed across many of the nodes on the Storj network. Storj node operators (SNO’s) are incentivized to host your file fragments by earning Storj tokens (cryptocurrency) based on the size of the files being stored and every time your files are transferred.
For those already familiar with decentralized file storage you probably have also heard about IPFS (InterPlanetary File System) and are wondering why we chose to explore WordPress backup storage on the Storj network instead of IPFS. The reason comes down to architecture and is best summarized by the comparison table below:
| Storj DCS | IPFS | |
|---|---|---|
| Storage Type | Private Containers | Public Hash Tables |
| Built-In Encryption | Yes | No |
| S3 Compatible | Yes | No |
| Easy-to-Use Web Interface | Yes | No |
| Supported by Existing Plugins | Yes | Not That We Could Find |
Tutorial
Without further ado let’s jump into the demo!
Prerequisites
To get started you’ll need the following:
UpdraftPlus plugin (free)
Storj DCS account (free)
Step 1: Configure UpdraftPlus Schedule
After you’ve installed the UpdraftPlus plugin on your target WordPress site, you’ll need to set it up for backups. UpdraftPlus is one of the best free backup/restore plugins on the market because it has not only a wide variety of remote storage options, but also includes automatic scheduled backups.
In your WordPress Dashboard go to Settings -> UpdraftPlus Backups and click the Settings tab:
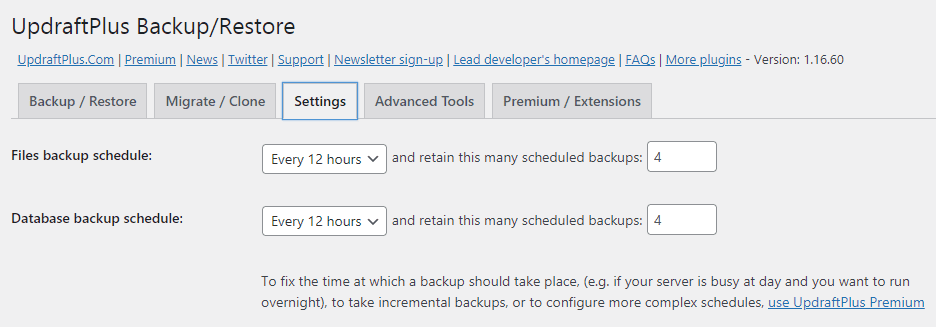
UpdraftPlus lets you choose to backup your website files and database on separate schedules, if you wish. In this case set your schedule to the frequency of your choice (keeping in mind that Storj offers up to 50GB of free storage space). I chose to backup both my files and database together every 12 hours and to retain 4 copies. If you need incremental backups, or more granular scheduling options you should consider purchasing the UpdraftPlus Premium plugin.
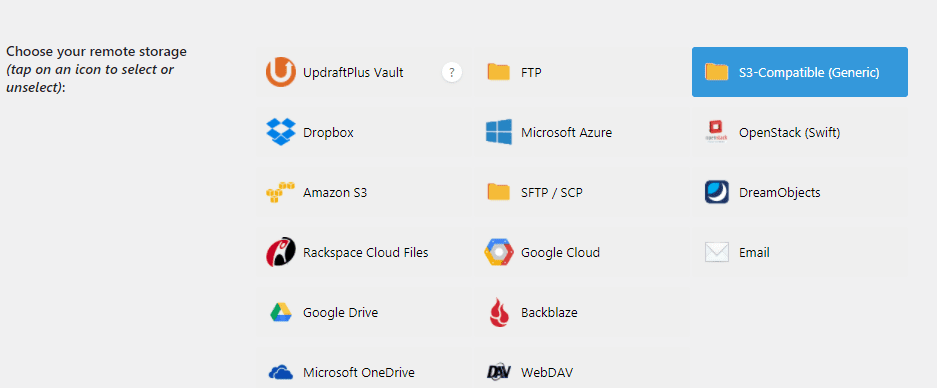
Step 2: Configure UpdraftPlus Remote Storage
In the Settings tab, scroll below the schedule section and you’ll see options for remote storage. In this case I’m going to select “S3-Compatible (Generic)”
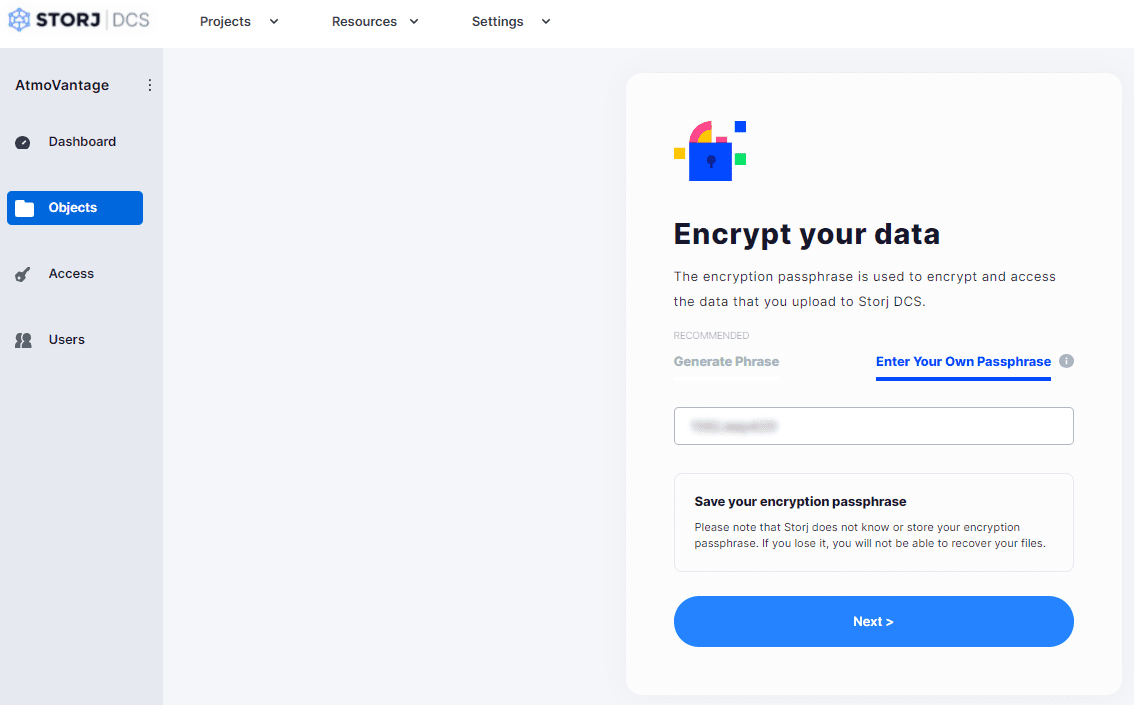
Step 3: Create a Storj Bucket
After logging into your Storj account, click on Objects in the left sidebar and choose to either generate a phrase or enter your own passphrase for encryption (can be any phrase you want, just make sure you remember it and/or write it down someplace!). Then click “Next”.
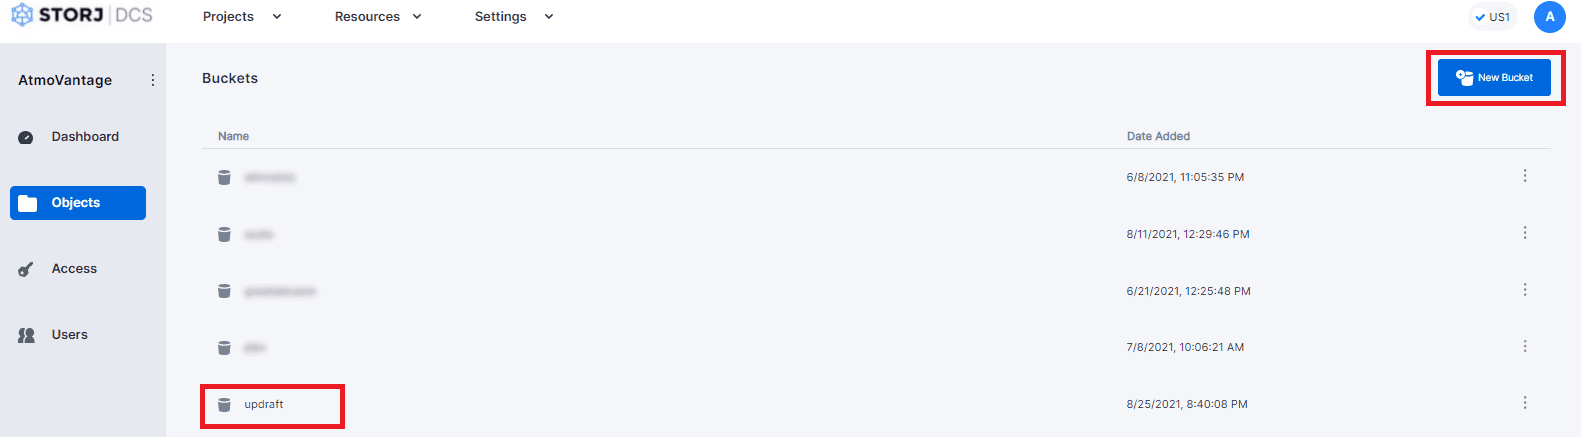
Now you need to create a “bucket” (directory) to store your UpdraftPlus backups in. Click “New Bucket” and give it an appropriate name like “updraft” or “backups”.
Step 4: Create New Access Grant
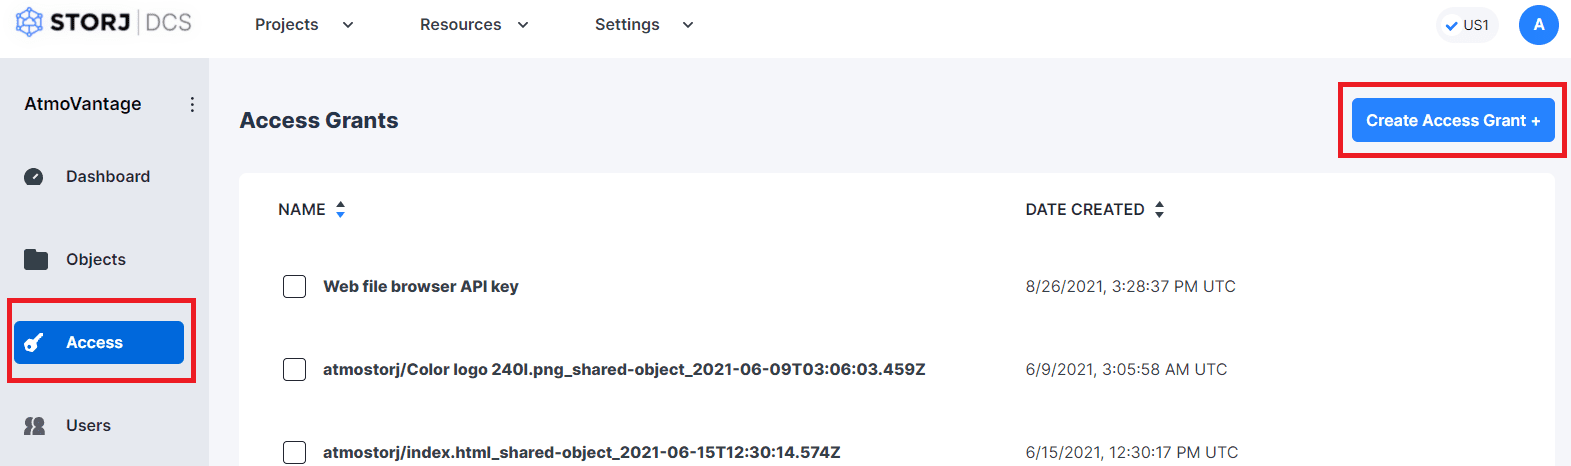
Select Access from the left sidebar menu and then click the button “Create Access Grant”.
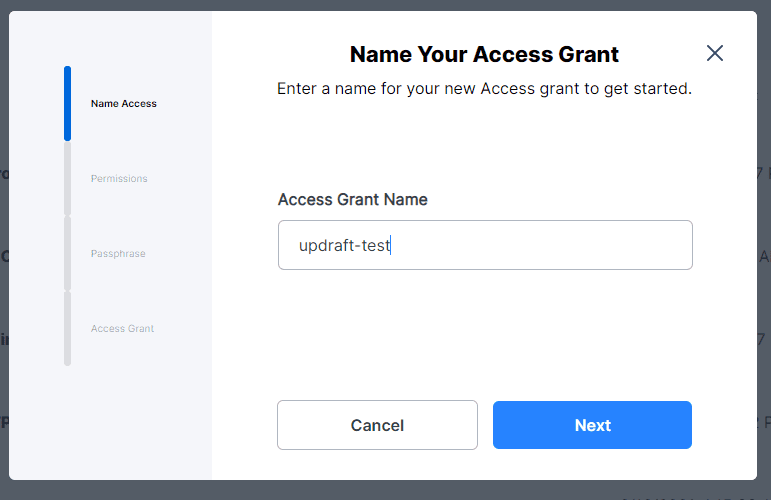
Give it a name to help identify what it will be used for. This helps in the future in case you need to revoke access. Click Next.
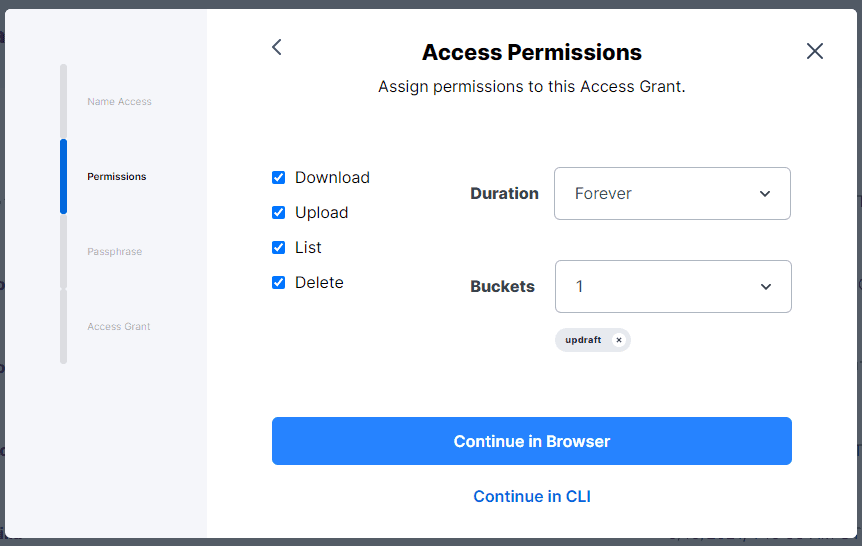
Give this new Access Grant full permissions. If you’re comfortable letting it never expire, select Duration as “Forever” and then select the specific bucket you are using for your backups. In this case I selected the “updraft” bucket. Click “Continue in Browser”.
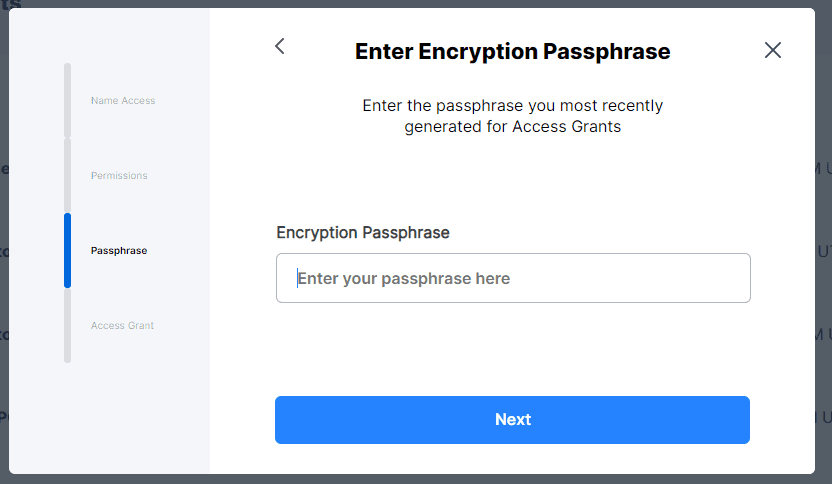
Enter the encryption passphrase you previously used when creating your bucket in the previous step. Click “Next”.
Now STOP! Before you click “Done” you need to click the link below the “Done” button called “Generate S3 Gateway Credentials”.
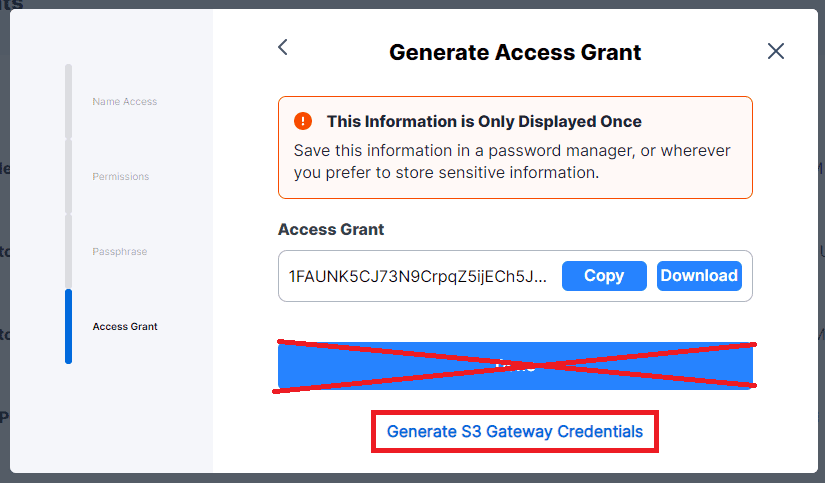
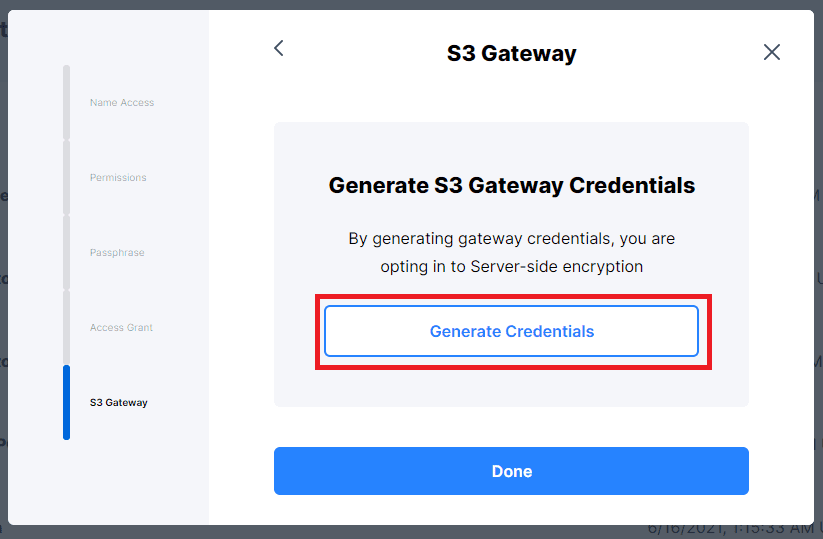
At this stage Storj is informing you that by creating S3 Gateway credentials you are opting-into server-side encryption. This means that your S3 gateway credentials are being stored securely on Storj’s servers rather than using End-to-End encryption. This is necessary for applications like UpdraftPlus to interact with your Storj bucket. You can read more about what this means in the Storj Documentation. Go ahead and click “Generate Credentials”.
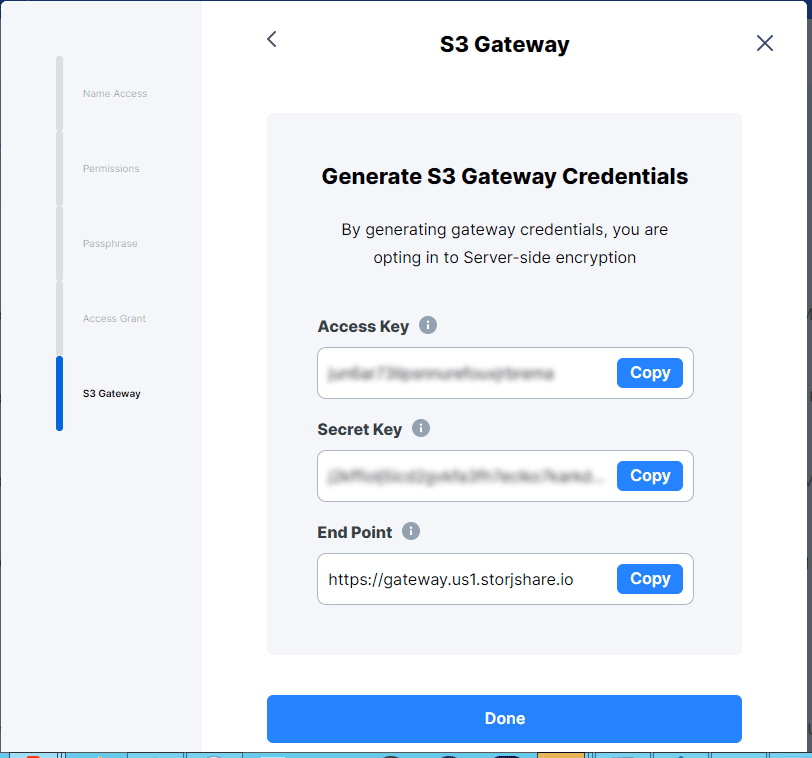
Now you will see a screen with your newly-generated S3 Gateway Credentials. Save this information to a secure location so you can access it in the future (otherwise once you close this window you’ll need to re-generate different credentials for use on another website).
Step 5: Input S3 Credentials in UpdraftPlus
Back in WordPress under Settings -> UpdraftPlus Backups in the Settings tab, scroll down to the section below the remote storage options. Here you will enter your Storj S3 credentials.
Under “S3 Location” put the name of the bucket you created in Step 3.
Under “S3 end-point” make sure you remove the “https://” because UpdraftPlus will automatically use that. (pay attention, because if you just copy-paste the end-point address Storj gave you it will fail!)

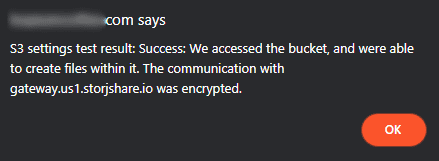
Click the “Test S3 Settings” button and if you’ve done things right your browser should give you a success message!
Step 6: Run a Manual Backup Test
At this stage you are now ready to test the backup manually and check to make sure it’s working. In the “Backup/Restore” tab click the button “Backup Now”

After the backup finishes scroll down on the page and check the “Existing backups” section. You should see your recent backup that you just made. If you don’t, try clicking the link that says “Rescan remote storage”. Underneath the backup date/time you should see a folder icon. When you hover your cursor over the icon it should say “Remote storage: S3-Compatible (Generic)“

If you go back to your Storj Objects dashboard and open the bucket you created, you should now see the files associated with the backup you just created.

Step 7: Do a Restoration Test (Optional)
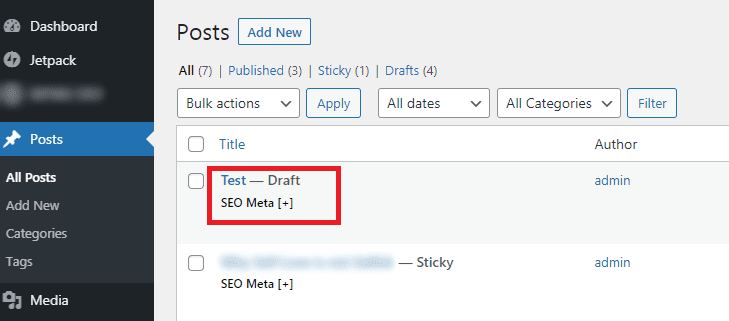
It’s always a good idea with any backup system to make sure that it works. After you create your first backup on Storj let’s do a simple restoration test. On your WordPress site create a new draft post with the title “Test” (just save it as a draft, don’t publish it).

Go back to your WordPress Dashboard and you should see the draft post in your list of posts.
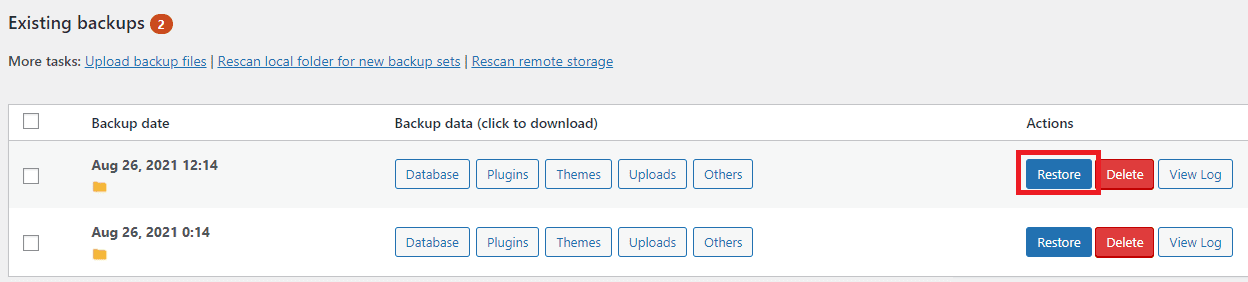
Return to Settings -> UpdraftPlus Backups and in the “Backup/Restore” tab find the most recent backup you created on Storj. Select the “Restore” button.
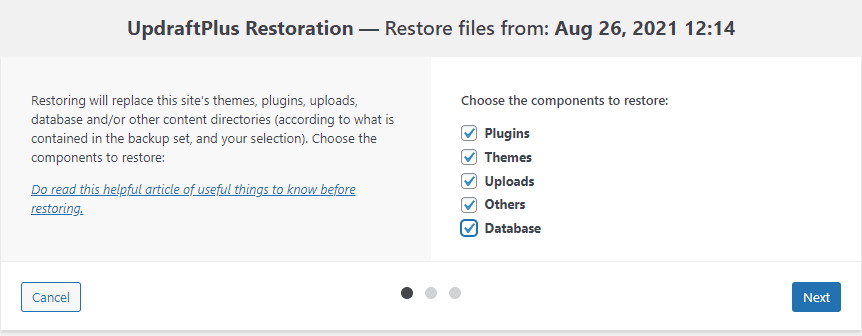
Select all the components you want to restore and click Next.
It will then download all the necessary files from your Storj bucket and proceed to ask you to confirm the restoration.
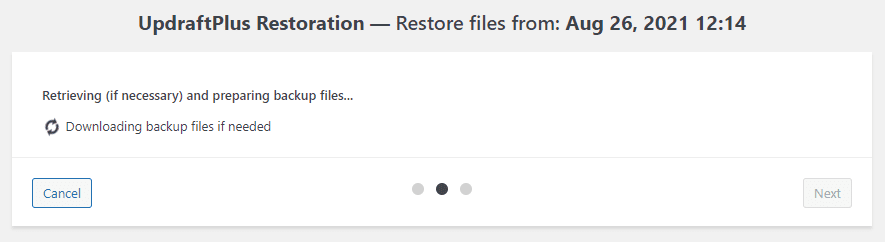
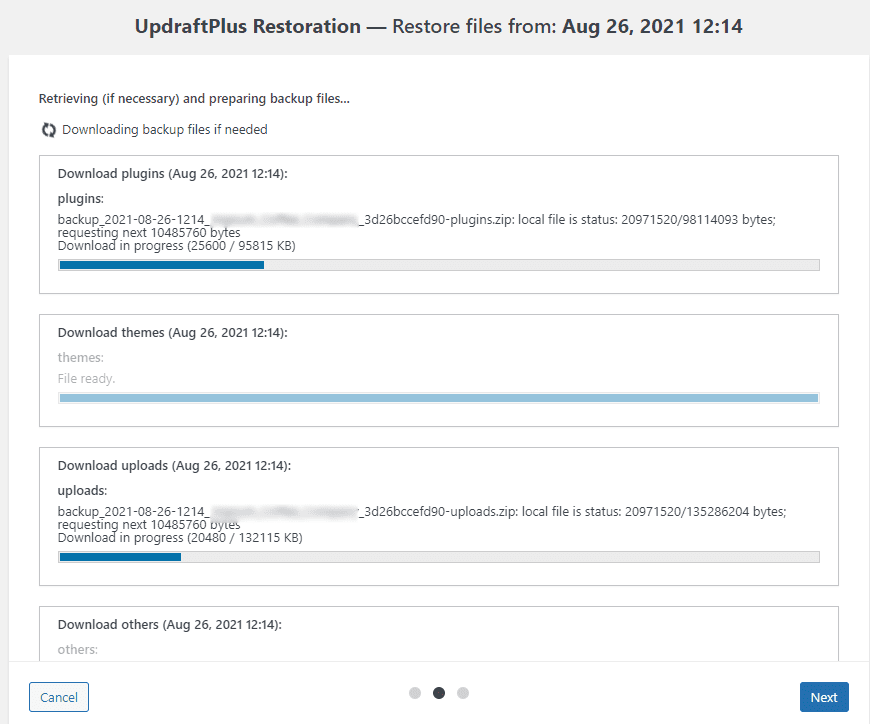

UpdraftPlus will then display the restoration process screen and show you each step as it is completed.
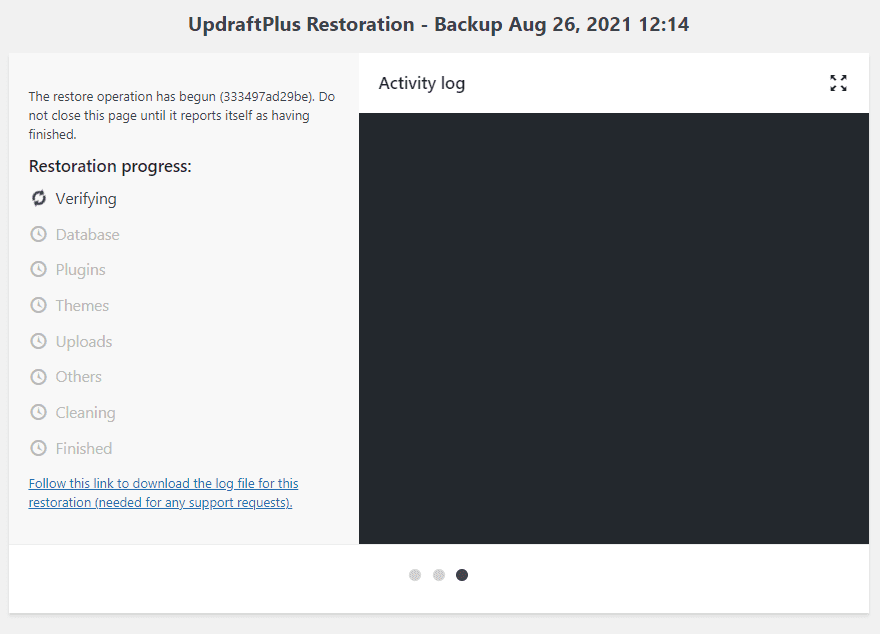
If all went well you should see a “Restore successful!” message. Click the button to “Return to UpdraftPlus configuration”.

Now head over the Posts -> All Posts and confirm that your “test” post is no longer there. If it’s gone, then it means your restoration was successful indeed!
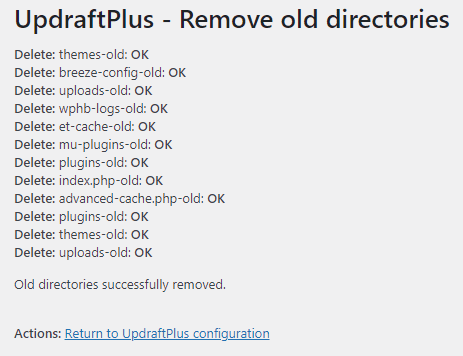
The final step is to go back to Settings -> UpdraftPlus Backups and click the “Delete Old Directories” button. This cleans up the temporary directory containing the pre-restoration website.

Conclusion
That’s it! Now your scheduled WordPress backups will be automatically stored in a secure and encrypted decentralized cloud. Storj DCS offers up to 50GB of free storage per project, and you can have up to 3 projects (150GB total). This should be more than enough for storing a few copies of several websites, or many copies of one website. Storj does offer very affordable paid plans if you need more storage.
So there you have it. A WordPress backup solution that is secure, encrypted, free and censorship-resistant!
Hello,
For Restoration test, you should remove local backup first, by clicking delete button with “Also delete from remote storage” unchecked.
Finally, click Rescan remote storage, and click restore button.
I’ve tried that, and restoration is failed, because the download process is time out, and cpu usage is very high.