
In a previous article I showed how you could build a static website using Publii and host it on the IPFS network. Today I’m going to show you how to host a similar static website on the Storj network instead. Both Storj and IPFS are similar in that they are decentralized, peer-to-peer storage networks. See the video below for a quick introduction to Storj:
Updated December 5th, 2022
Several of the links to Storj guides were broken in this original article. Those have been fixed and I recently followed the same steps I previously outlined in this guide to successfully deploy another website on Storj. If you come across issues feel free to leave a comment below or contact me via email for help.
Before getting started with the step-by-step tutorial on how to host a website on Storj, it’s worth noting that the process is a little different than IPFS. Hosting a static website on IPFS requires the help of two different third-party services: GitHub and Fleek. Fleek automatically detects changes in your website’s Github repository, deploys those changes to IPFS and updates the domain name to point to the latest hash.
Storj works a little differently than IPFS in that it is object-oriented instead of hash-based. With Storj you create folders (buckets) for your website files. Storj is also S3 compatible, meaning that it can be easily integrated with any software that supports generic S3 connections. As a result, there isn’t a need to point your domain name to a new hash. And since Publii already has generic S3 support, publishing website changes only requires the single press of a button, making Storj easier than IPFS for static website hosting!
- Step 1: Sign Up for a Free Storj Account
- Step 2: Create a New Bucket
- Step 3: Create Two Different Access Grant Keys
- Step 4: Connect Publii to Your Storj Bucket Using Generic S3 Connection
- Step 5: Download and Run Uplink Binary
- Step 6: Using Uplink, Generate DNS Info
- Step 7: Add the New DNS Records to Your Domain
- Step 8: Visit Your New Storj Website
- Step 9: Publish Updates to Your Website in Publii
- Final Thoughts
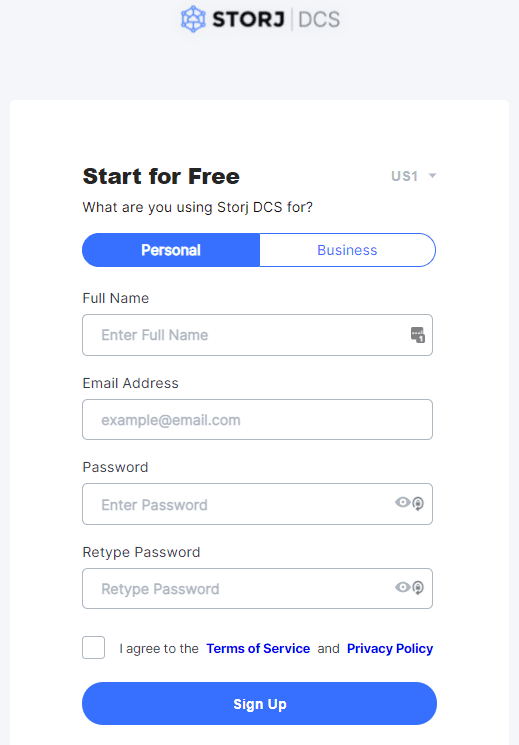
Step 1: Sign Up for a Free Storj Account
Storj offers a free tier with 50GB of storage space and monthly bandwidth, which should be more than enough to get you started. Click here to sign up.
Step 2: Create a New Bucket
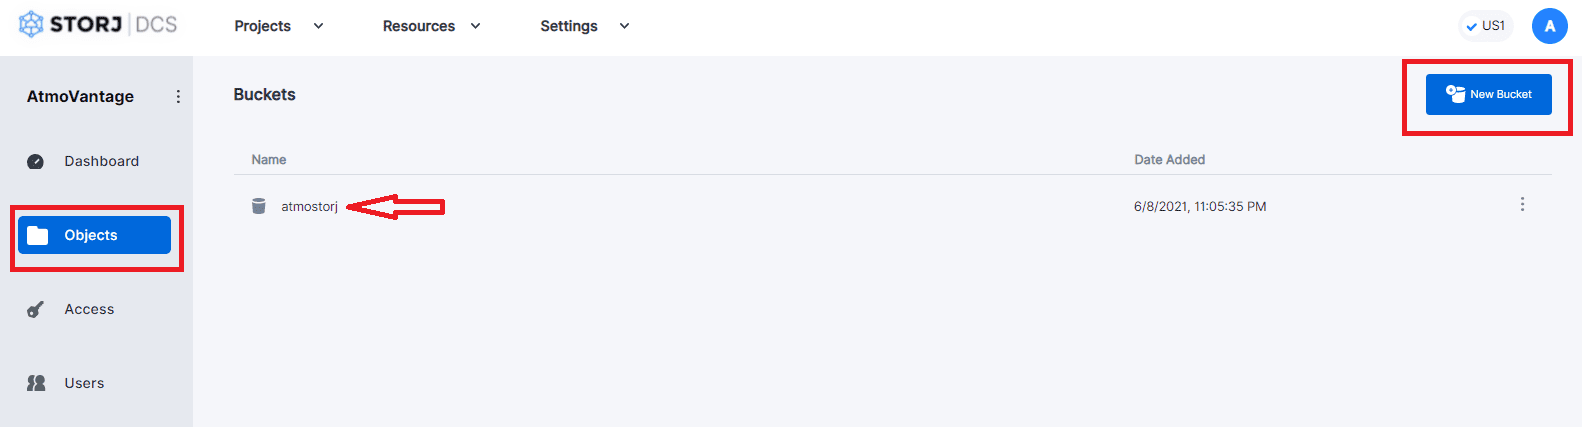
In the Storj Dashboard, click on the “Objects” menu, then press the “New Bucket” button. Name the bucket whatever you want.
Step 3: Create Two Different Access Grant Keys
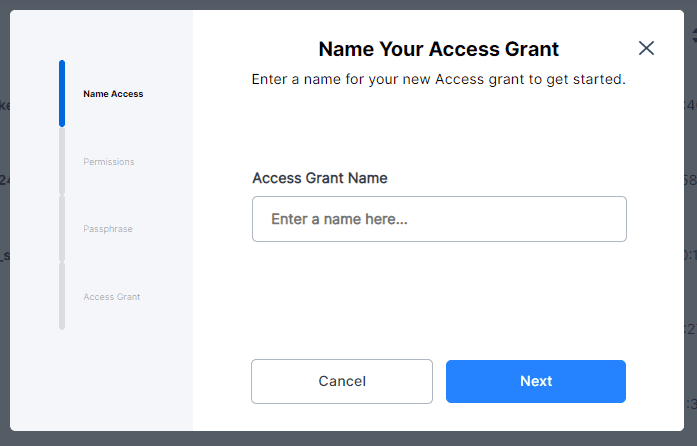
You will need two different access grant keys, one will be for the DNS connection of the domain name to your Storj bucket, the other will be for the connection between Publii and your Storj bucket.
Follow the guide here to create both new access grant keys to use with the website bucket you created previously.
The access grant keys will only be displayed once, so make sure to use them before closing the dialog box. I recommend first creating the S3 Gateway Access Grant to be used by Publii in Step 4, then create the regular Access Grant key to be used by the Uplink Binary in Step 5 and save it as a “txt” file.
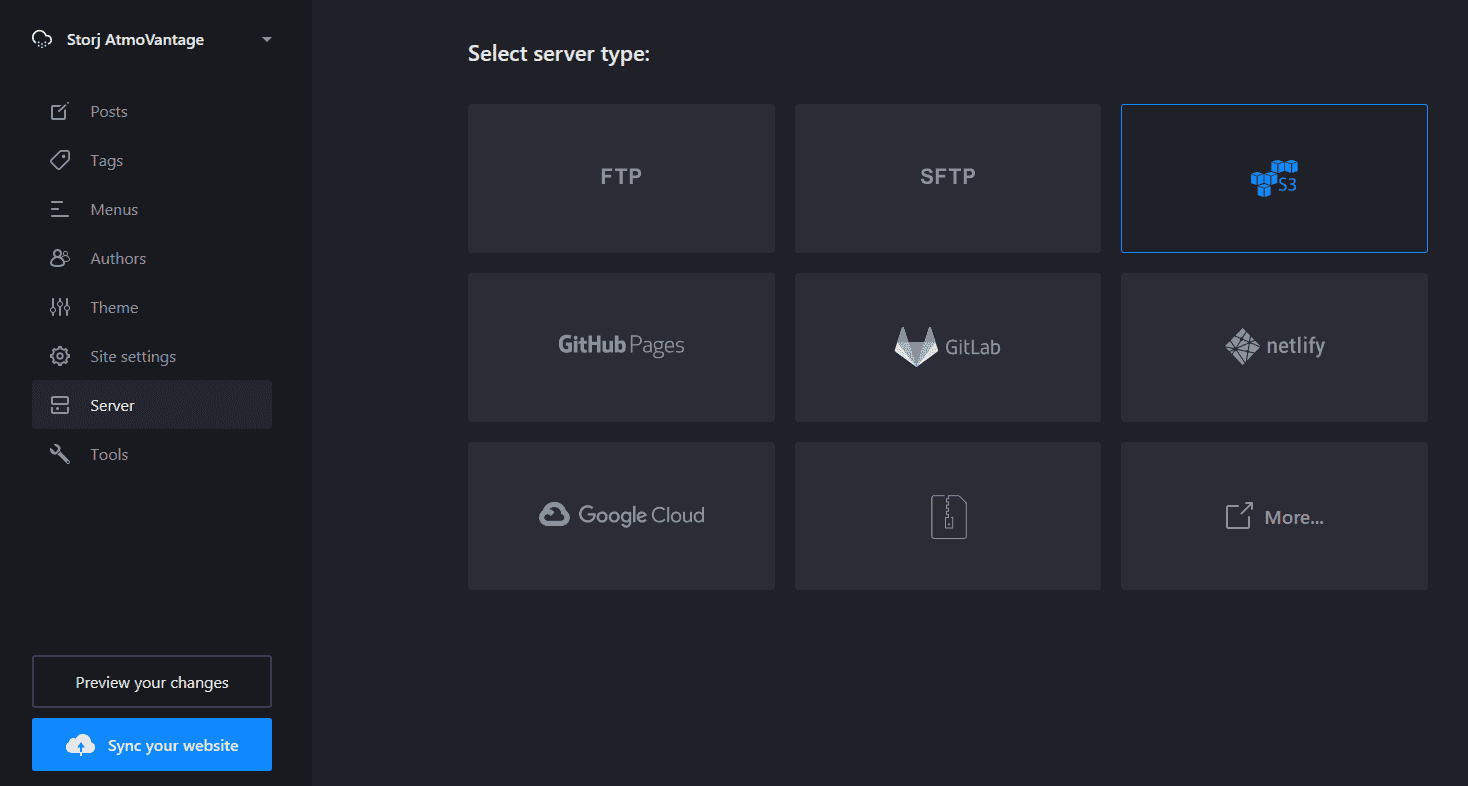
Step 4: Connect Publii to Your Storj Bucket Using Generic S3 Connection
This tutorial assumes you’ve already created a static website using Publii.
In Publii, on the left-side menu, select “Server”, then choose the S3 Compatible Storage” option.
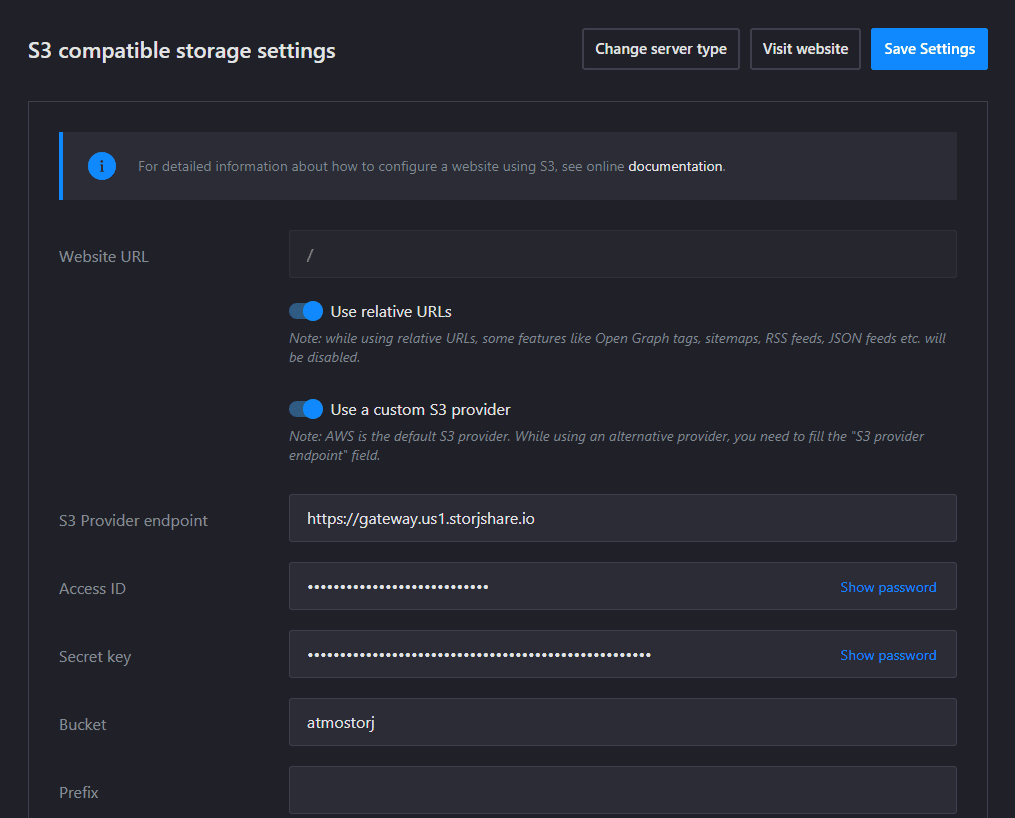
On the next screen you will be presented with a variety of settings for your S3 Compatible Storage. First, toggle the switch for “Use a Custom S3 Provider”. Then, using the S3 Gateway Access Grant you created in Step 4, enter the S3 Provider endpoint, Access ID (key), Secret Key and bucket name.
Use the “Test Connection” button at the bottom of the window to verify that the Access Grant works. Then click the “Sync your website” button to push the website files to your Storj bucket.
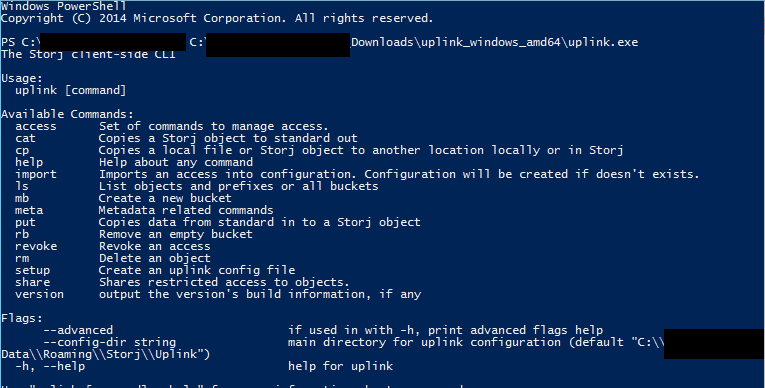
Step 5: Download and Run Uplink Binary
Download the binary for Uplink. Then follow the guide here to associate the access grant key you generated to the Storj bucket.
Use the “import” command to associate the access grant key (txt file you created in Step 3) with the Uplink binary.
Step 6: Using Uplink, Generate DNS Info
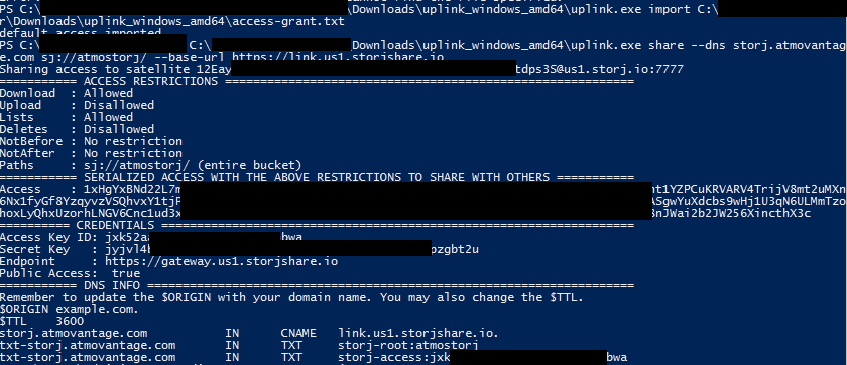
Use the “share” command to generate DNS info for the endpoint gateway.
In my case I used the command:
share --dns storj.atmovantage.com sj://atmostorj/ --base-url https://link.us1.storjshare.io --not-after=none
“storj.atmovantage.com” is my intended domain name.
“sj://atmostorj/” is my Storj bucket name.
“https://link.us1.storjshare.io” is my preferred satellite link since this website is located in the United States.
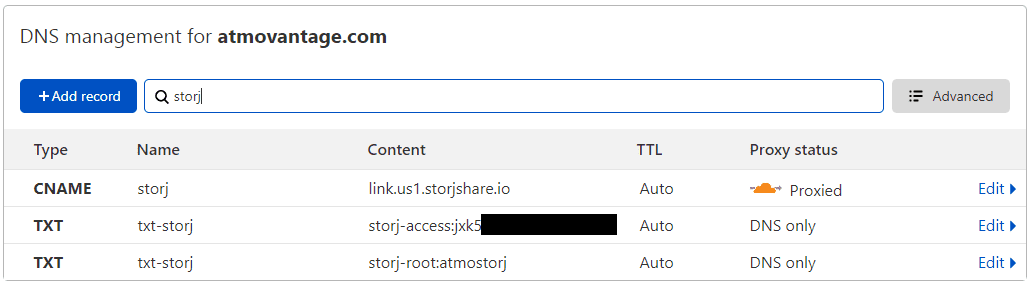
Step 7: Add the New DNS Records to Your Domain
Now go to wherever you manage your domain name DNS records. In my case I use Cloudflare. Cloudflare is also helpful because as a CDN (Content Delivery Network) you can secure your new Storj website using an SSL certificate.
Take the DNS info generated by the Uplink binary in Powershell and create the 3 new records: CNAME and two TXT records. Make sure the CNAME record is using the Cloudflare proxy in order to ensure it uses HTTPS (SSL certificate).
Note About Domain Names & Cloudflare DNS:
I discovered that with Cloudflare DNS you need to set a subdomain in order for the Storj link to work. Meaning your txt records for Storj can’t be just “txt”, otherwise Storj will return a “Malformed Request” error.
If you are using a specific subdomain like storj.atmovantage.com then your txt records would look like “txt-storj”. If you want your website to be a top-level URL instead of a subdomain you’ll need to utilize the “www” subdomain. Then using Cloudflare page rules, simply redirect the non-www root domain to the www subdomain (tutorial on Cloudflare page rules).
Step 8: Visit Your New Storj Website
If you’ve done all the steps correctly then when you visit your Storj domain in your browser you should see your static website. (This might take a few minutes to a few hours after configuring Cloudflare DNS due to the time it takes for DNS changes to propagate)
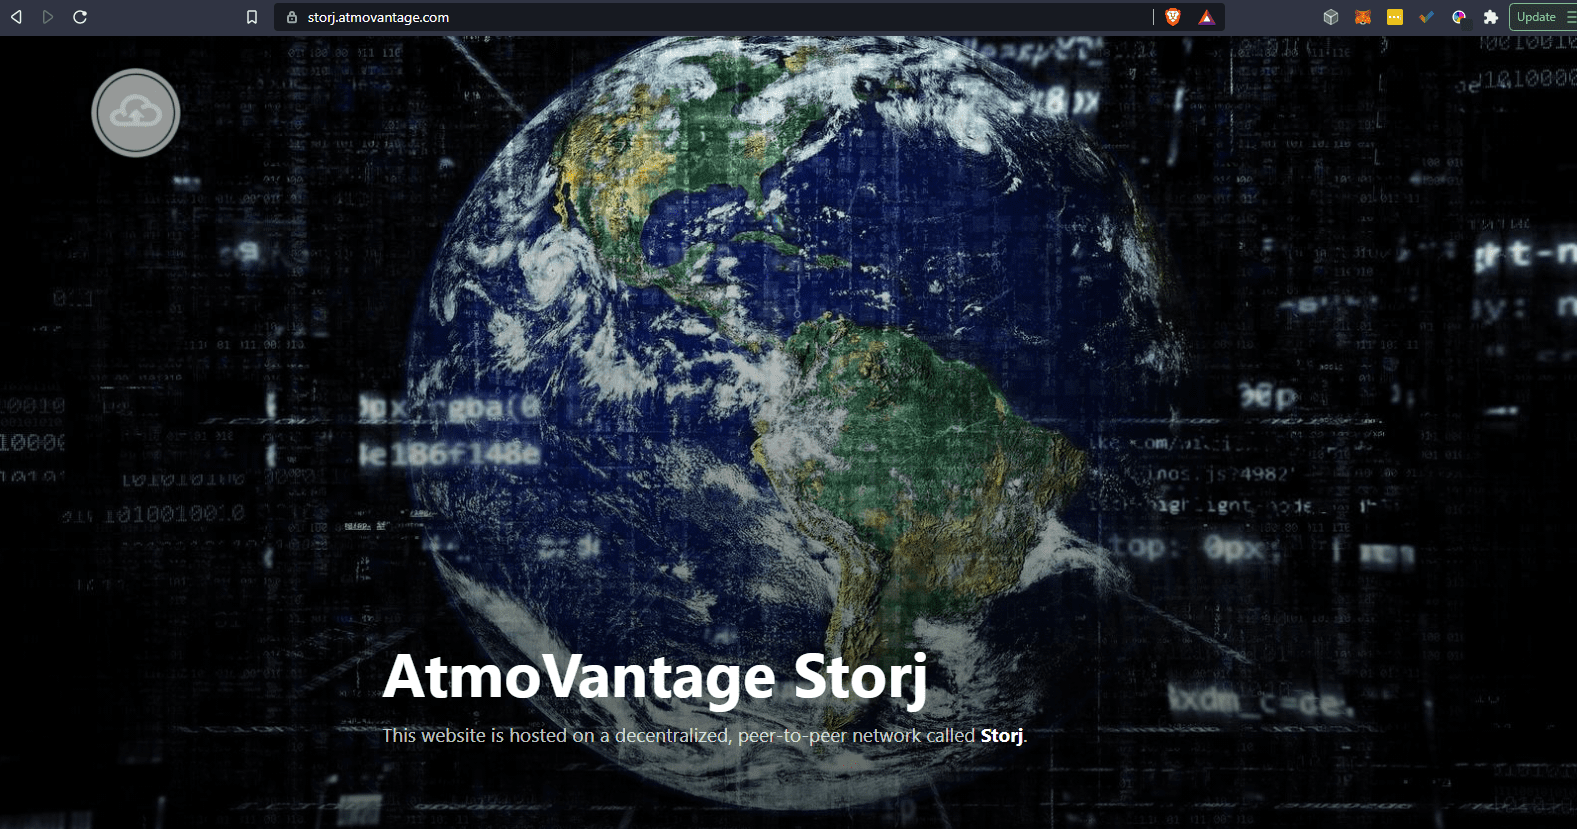
In my case, I built a special static website in Publii and uploaded the files to a Storj bucket, then configured the DNS records to point to the subdomain storj.atmovantage.com
When you visit that subdomain you should see the website titled “AtmoVantage Storj”!
Step 9: Publish Updates to Your Website in Publii

Since you previously connected Publii to your Storj bucket using the S3-compatible Access Grant, publishing future updates, such as new posts and pages, is as simple as clicking a button.
After making changes to your website in Publii, just click the blue “Sync your website” button in the lower left corner. Publii will then regenerate the website files and upload them via the S3 connection to your Storj bucket to update the website instantly!
Final Thoughts
Overall the entire process to host a website on Storj was actually relatively easy, aside from a few command lines needed in the Uplink binary when first setting up the DNS connection. Ultimately I’d say that the process of hosting a website on Storj is simple enough that it only requires an intermediate skill level to accomplish, and if done correctly, can be completed in only a few hours. The best part is that once you’ve setup the Access Grants and configured the DNS connection it basically runs on autopilot. When making any future changes to your website in Publii all you need to do is click one button and your changes are instantly available on the website!
Hosting a static website on the Storj network is just one more way to make your website more resilient and censorship-resistant. The S3-compatible object-oriented nature of Storj makes updates very easy, and the native support for generic S3 connections in Publii makes publishing updates a breeze.
If you’ve built a static website on Storj please share the URL in a comment below so others can see potential use cases!
I really need your help with more explained steps, as I am stucking on the import access grant step. This tutorial would be far better in a video form tbh, please dude if it is possible, could you please make a video about it and upload or maybe share a link. I appreciate your help.
Hey Neo, sorry to hear about your troubles with importing the access grant. In hindsight this probably would’ve been much easier to follow as a video tutorial but at the time I wasn’t really setup to record my process. I also don’t have a ton of time right now to go through the whole thing again and record a video, although I’ll add it to my backlog of tasks and will see how soon I can get it done.
In the meantime, could you describe how exactly you’re getting stuck with importing the access grant? Not knowing how familiar you are with Command-line-interfaces (CLI) I just want to rule out simple oversights such as making sure you change the directory to the location on your local computer where you saved the access grant “.txt” file that you downloaded from Step 3.
Edit: I see Storj themselves did a video on how to host a static website on Storj. The process will work a little differently if you’re using Publii but maybe this will help clear stuff up on using Uplink. It’s also possible that the process has changed since 2021 when I first made this guide. Storj’s video demo is much more recent, made only a few months ago: